
Installation and configuration of your data logger on the paid professional Tempro Easylog Cloud
Do you have a EL-WIFI data logger and a professional Tempro Cloud licence purchased?
Follow the steps below to correctly install and configure your data logger.
1. Creating your Tempro Cloud account
To log in to the professional Tempro EasyLog Cloud, you need a paid account.
Please fill in the set-up form in Once we receive your completed form, we will create your personal cloud environment.
You will then receive an activation email to confirm and activate your account.
Important:
Do not create an account on the standard EasyLog Cloud from Lascargeen account aan op de standaard EasyLog Cloud van Lascar.
The Tempro Cloud is a separate professional platform.
2. Installation via smartphone
Preparation
Ensure that:
- there is a WiFi network (802.11b/g/n, 2.4GHz) available;
- the network is secured with WPA/WPA2 PSK;
- you know the correct WiFi password (no spaces or special characters);
-
TCP port 14354 is open for outgoing traffic.
In corporate networks, it may be necessary for your IT administrator to open this port.
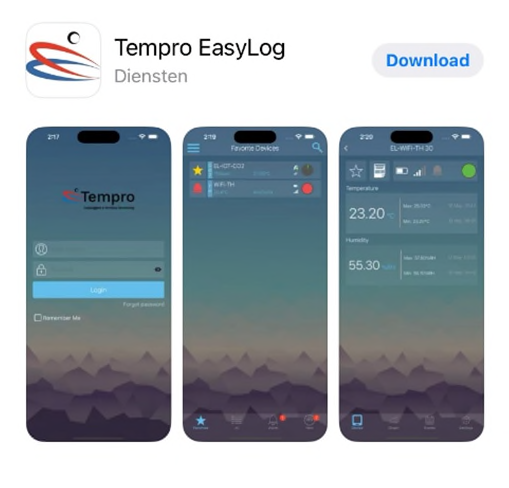
Then download the Tempro EasyLog App from:
- Google Play Store
- Apple App Store

3. Installation guide via smartphone
- Turn off mobile data on your smartphone (4G/5G).
- Open the Tempro EasyLog App.
-
Log in with the account details you received from Tempro:
- Email address: the address you provided during registration
- Password: Welcome01
- Click on the top left on the three horizontal lines (menu).
- Select “Setup Device”.
- Select "WiFi sensor".
- Follow the further steps on the screen.
-
After installation, your logger will appear under “New Devices”.
You can now place it at the desired location.
4. Login details for Tempro EasyLog Cloud
- Cloud URL: https://tempro.easylogcloud.com
- Default password: Welcome01
5. Troubleshooting
If you are unable to connect your logger to the Cloud, please read the following blog post